

TASK : Make multiples of something, 5 or more.
The objects must be a multi-process piece.
(NOT 5 things made solely on the laser cutter or 3D printers).
1. Inspiration
A. I wanted cost-efficient on the product. “Cost-efficient” meaning, Low cost at high Wow effect.
B. I found nice pieces of ITP Floor which has a coated side.
C. I wanted to make something small that I can make out of the floor piece.
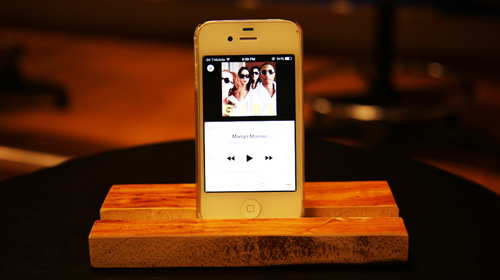
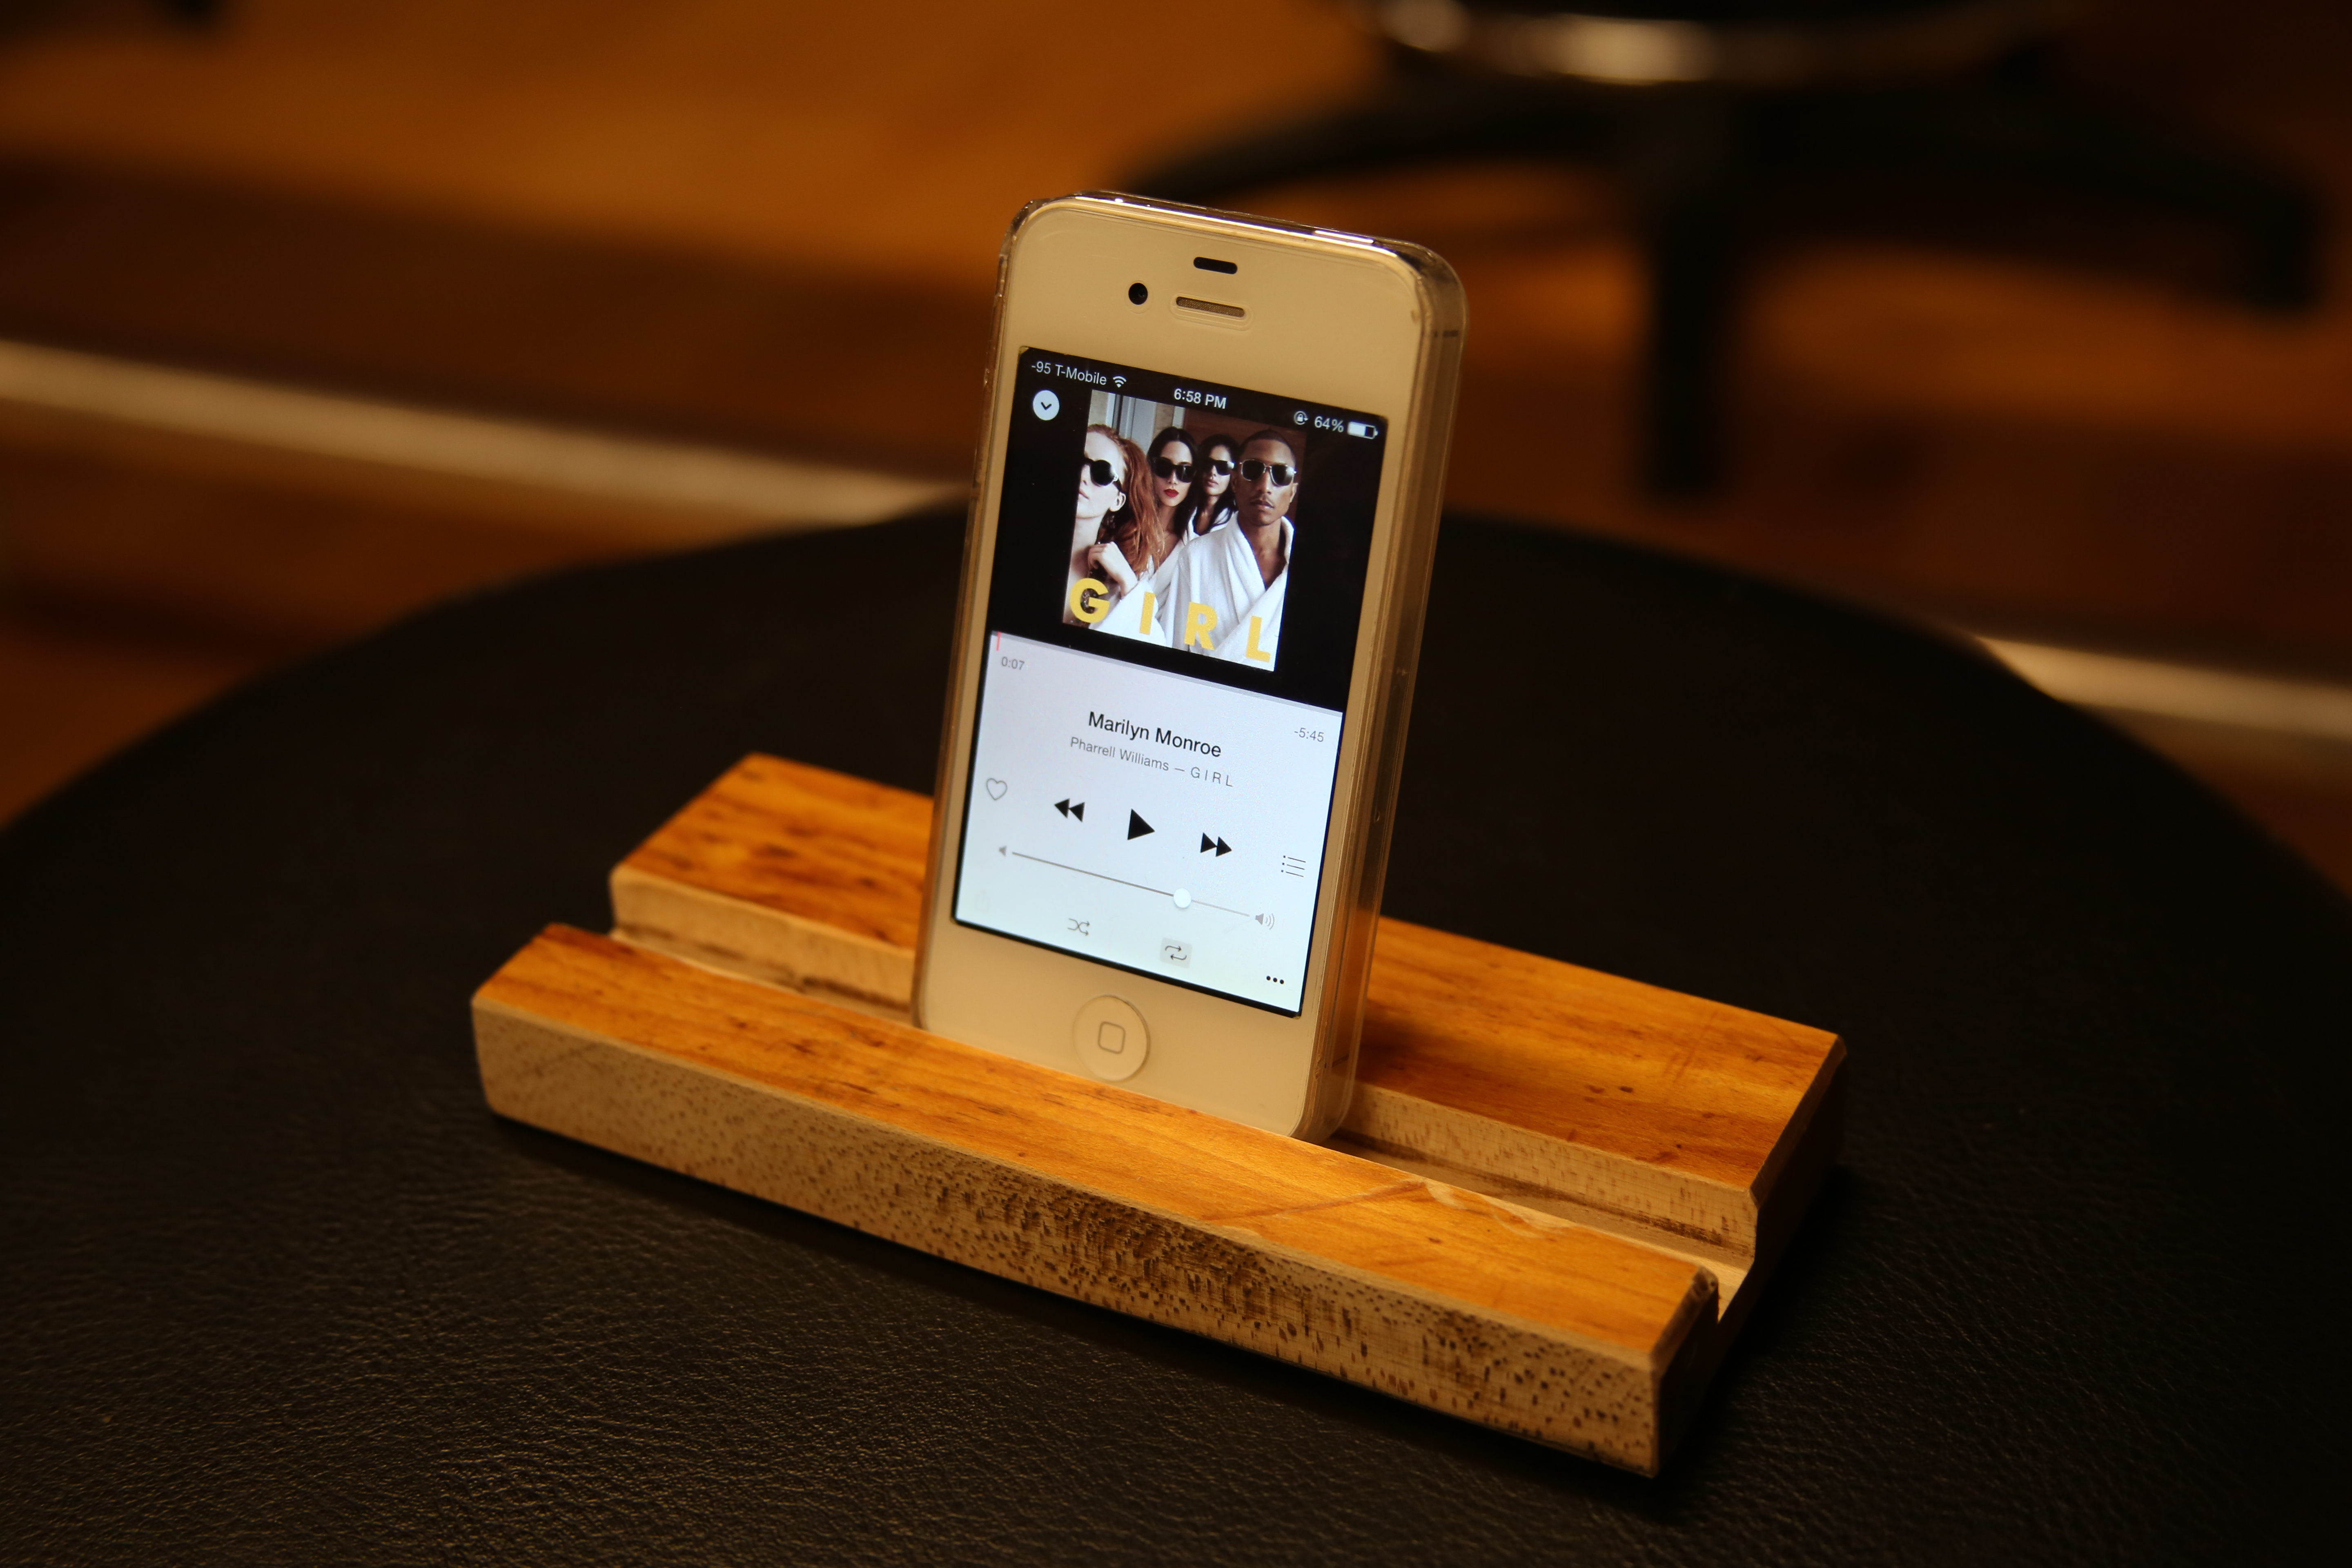
D. I thought of three things: chopsticks, desk tray and cradle for the smartphones.
I wanted to make the desk tray but the router cannot achieve the hollow shape, so I decided to make the smartphone cradle.
2. PLAN
A. Trim the pieces at the edge.
B. Make a route at the body.
C. Chop the pieces like a loaf of a bread.

3. Execution
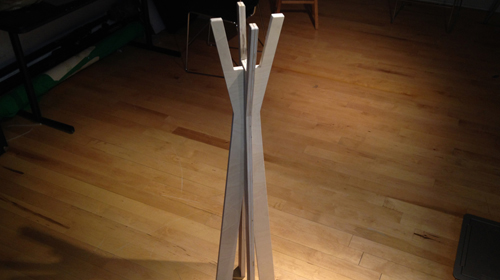
A. [Machine Saw] I cut the two ends of the pieces.

B. [Machine Saw, Band Saw/ Not Recommended] I used the band saw to trim the longer edges and it was inaccurate. So I unconsciously used the machine saw to trim the longer edge which alert shop staff. Later found I could’ve used some buffer or custom jig.
C. [Machine Saw] After Trimming, I cut the trimmed pieces in to five which should’ve done after routing. After realizing the danger from the previous experience, I just wanted to finish the process related to the machine saw first. The small piece at the right is for the test.

D. [Router] First, I screw little bit of the bolt under the blue plate to eliminate the bump from the class. Now, I set the height of the router bit. I wanted to cut the route at twice so I set for the lower height.

E. [Router] I measured the two end distances of the guide to make it straight. Also I plug in the vacuum cleaner hose to the table. Now I needed parts that can push forward, press the side and press the material down.


F. [Router] I cut five first and second to achieve optimal depth of the route. It was difficult to push forward the pieces because the guide on the right has a break at the center for the vacuum cleaner. As I am pushing forward the pieces I found this bump annoying and blocking. Since the particles cut from the wood is flying to forward not to the vacuum, it will be better to have a solid guide. However, the router achieved the optimal height of the route.


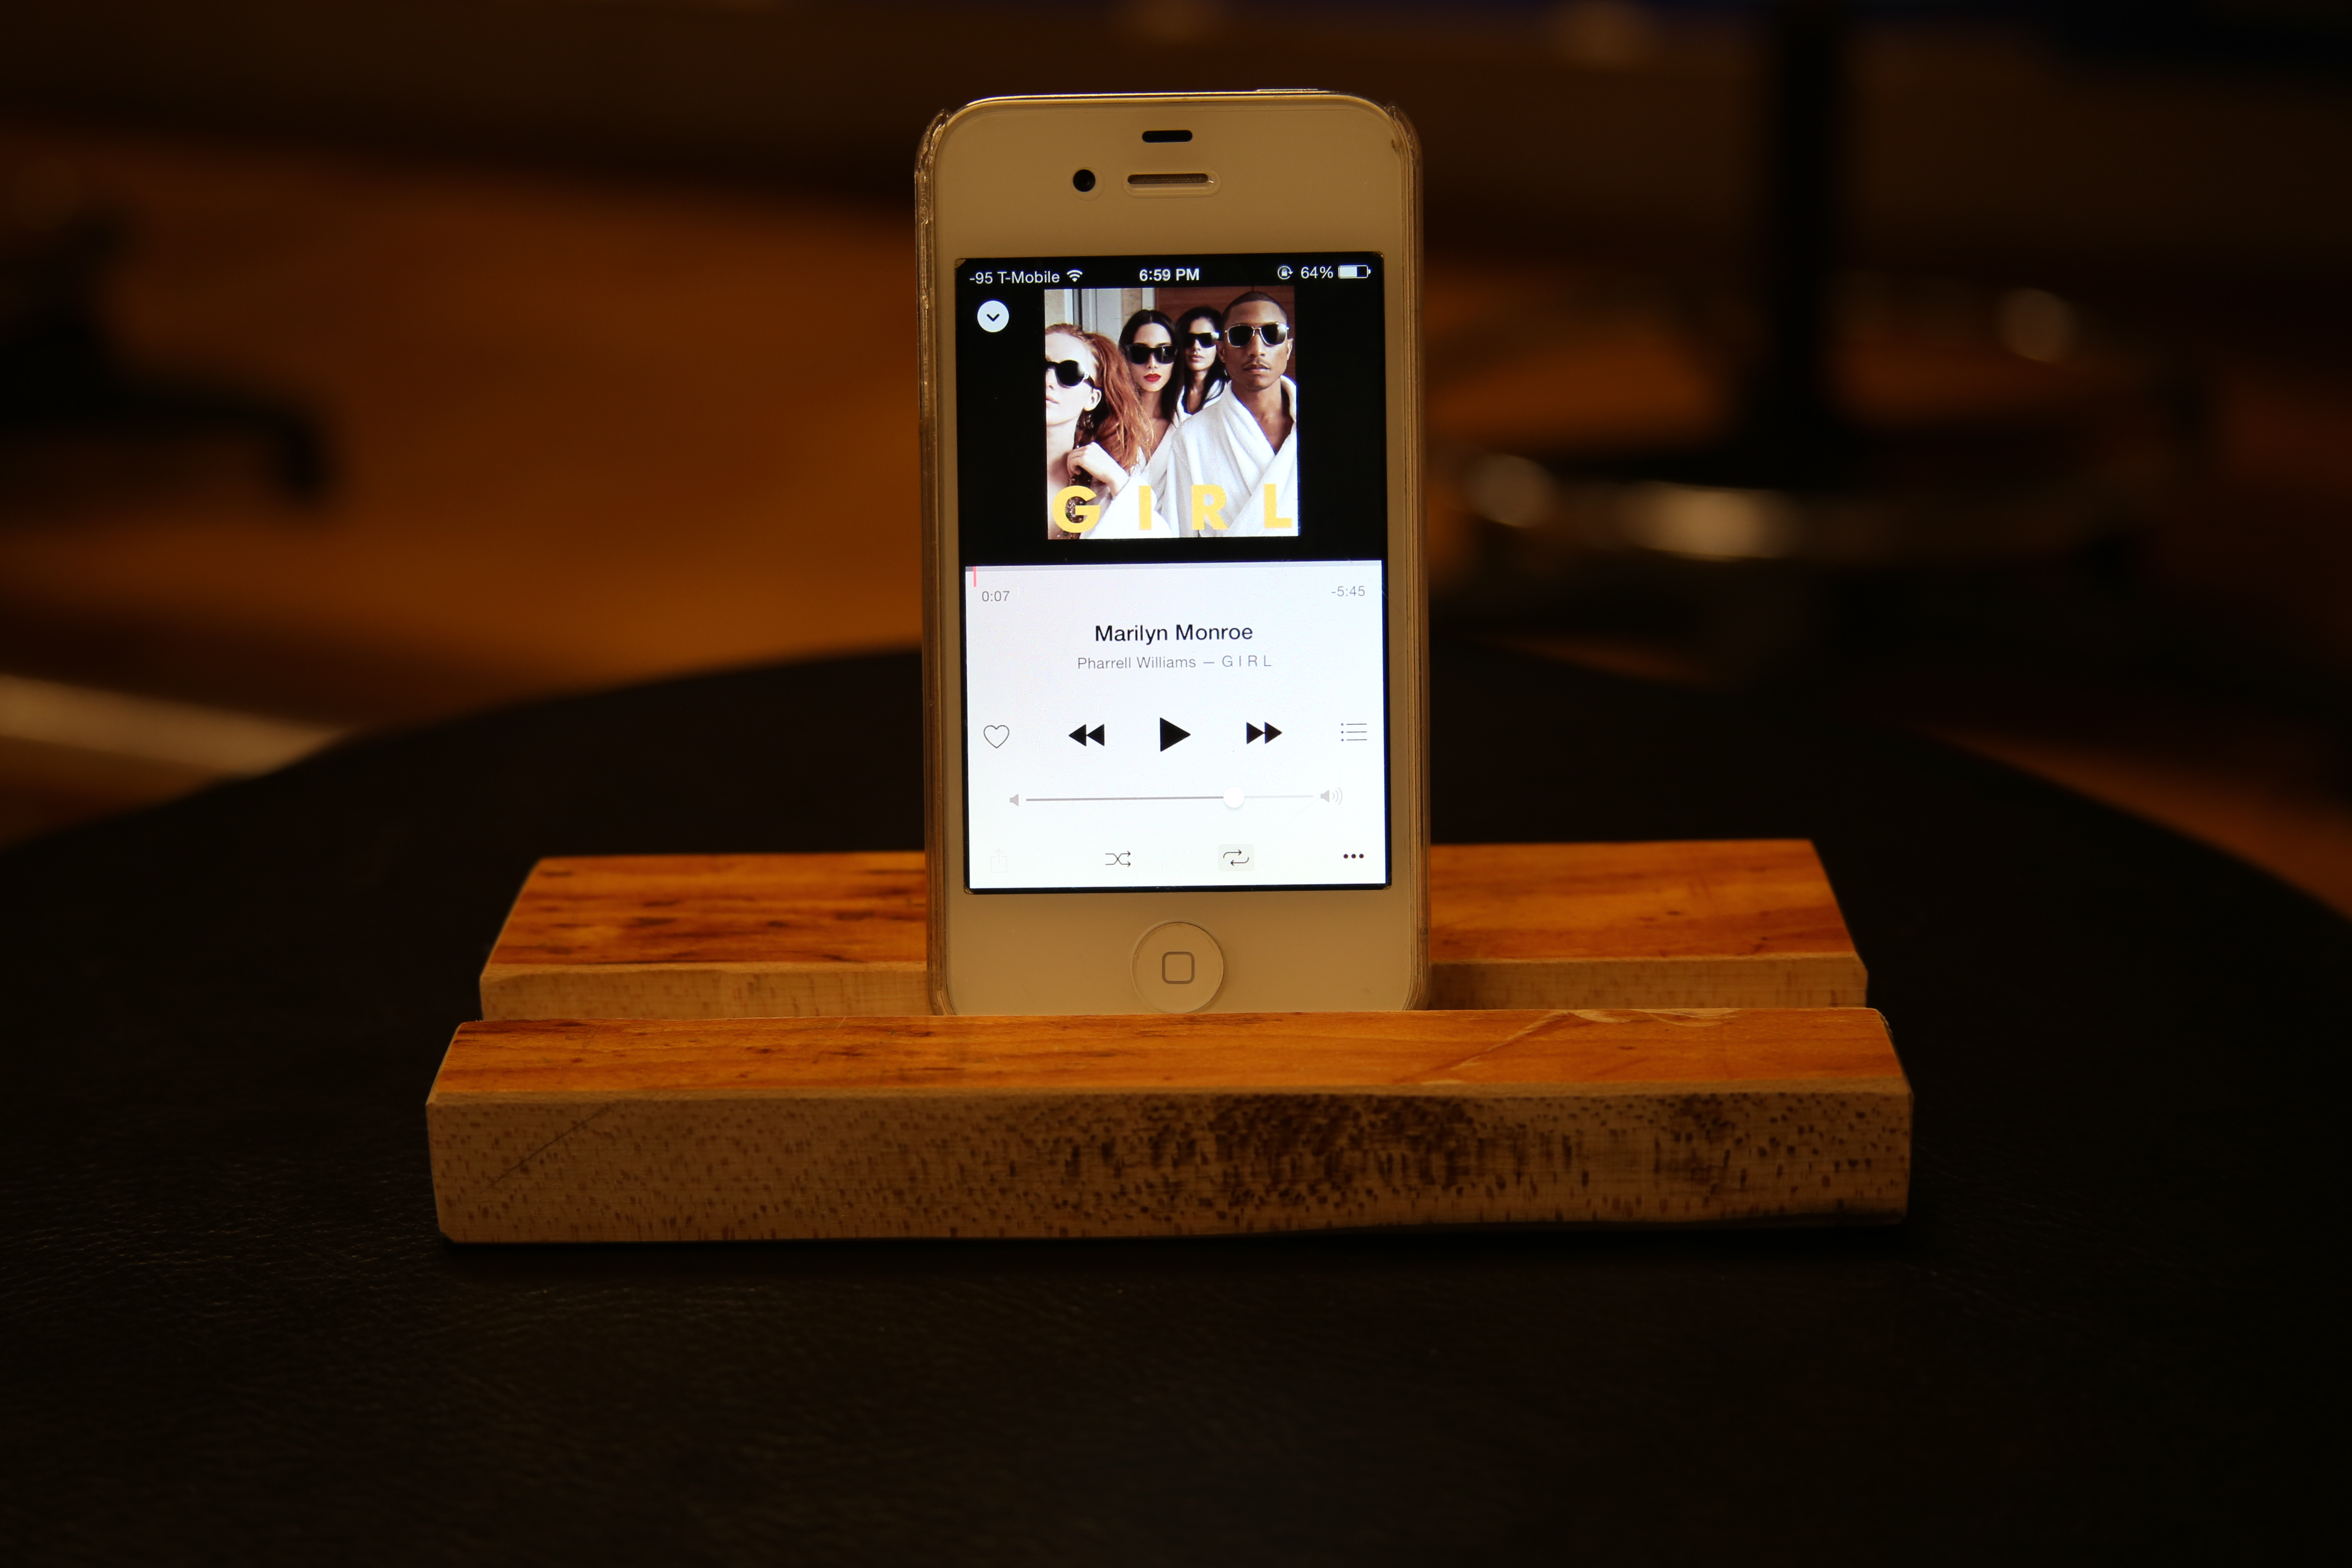
G. [Drill Press] After placing the smartphone I recognized the need of the holes for the sound flow. So I drilled two holes at the bottom so that it can have a better sound.


H. [Sander Machine/ Sand Paper] I sanded the edges and surfaces of the cradle.


I. [Drill Press] I wanted to elaborate more on the products. So I drilled hollow shape to make sound flow better and to mark the number 00X/ 00X on the back.


4. Completion